If you’re a fan of spicy food, growing your own chili peppers can be a rewarding and flavorful endeavor. Fortunately, you don’t need a sprawling garden to cultivate these fiery delights; container gardening allows you to grow chili peppers right on your patio, balcony, or even indoors. In this article, we’ll delve into the ins and outs of growing chili peppers in containers—from choosing the right pot to combating pesky pests. Whether you’re a seasoned gardener or a newbie, you can enjoy a bountiful harvest of chili peppers that will add zest to your meals.
Why Container Gardening is Perfect for Chili Peppers
Container gardening is an excellent way to grow chili peppers, especially if you have limited space. It allows you to control the growing environment more precisely, giving you the flexibility to move your plants around to catch the best sunlight or shield them from adverse weather conditions. Container gardening also reduces the risk of soil-borne diseases that can affect plants grown in traditional garden beds.
Another perk of container gardening is that it makes it easier to manage soil quality and drainage. Chili peppers thrive in well-draining soil, and pots can be filled with a custom mix to ensure your plants are happy. Additionally, you can choose containers that complement your home’s aesthetic while serving as functional garden spaces. Whether you opt for decorative ceramic pots or simple plastic ones, container gardening can be a stylish addition to your living area.
Lastly, growing chili peppers in containers is perfect for those who want to ensure their plants are protected from pests and diseases. By elevating your plants off the ground, you can deter some common ground-dwelling pests that can wreak havoc on your crops. Plus, it gives you the opportunity to grow a variety of chili peppers in a limited space without the worry of overcrowding.
Choosing the Right Container for Your Chili Plants
When it comes to selecting a container for your chili peppers, size matters. A pot that is at least 5 gallons (about 19 liters) is ideal for most chili varieties, as it provides enough space for root development. If you’re growing smaller varieties, like the Thai chili, you can get away with a 3-gallon (about 11 liters) pot. However, larger varieties, like jalapeños or habaneros, will benefit from the extra room that a larger container provides.
Material is another important consideration. Terracotta pots are popular due to their breathability and natural aesthetics, but they can dry out quickly. Plastic pots are lightweight and retain moisture better, making them a suitable alternative. Whichever material you choose, make sure your container has drainage holes at the bottom to prevent water from pooling, which can lead to root rot.
Lastly, consider the portability of your container. If you plan to move your chili plants to catch the sun or protect them from harsh weather, lighter pots or those with wheels can make relocating them much easier. In the end, your choice of container should reflect not just practicality but also your personal style!
Best Soil Mix for Thriving Chili Pepper Growth
The key to healthy chili pepper plants is having the right soil mix. Chili peppers prefer well-draining, nutrient-rich soil. A great starting mix consists of equal parts potting soil, compost, and perlite or coarse sand. This combination allows for good drainage while providing essential nutrients for growth. Compost adds organic matter, which benefits the soil structure and provides a slow-release source of nutrients for your plants.
You can also consider adding some organic matter like worm castings or well-rotted manure to enhance the nutrient content further. These amendments not only improve soil fertility but also promote healthy microbial activity, which is essential for nutrient uptake in plants. Just be cautious not to overload your mix with too much organic matter, as it can retain excessive moisture.
Before planting, it’s a good idea to test your soil pH. Chili peppers thrive in slightly acidic to neutral soil, ideally around 6.0 to 7.0 pH. If your soil is too acidic, you can add lime to adjust it, while sulfur can help lower the pH if it’s too alkaline. A well-balanced soil mix will set your chili plants up for success right from the start!
Sunlight and Watering Tips for Happy Chili Peppers
Like most plants, chili peppers love sunlight, and they require at least 6 hours of direct sunlight each day. If you’re growing them indoors, placing them near a south-facing window can work wonders. If you notice your plants stretching toward the light, they may need more exposure. If growing outdoors, position your containers in a spot that won’t be shaded by buildings or trees throughout the day.
Watering is another crucial factor in growing healthy chili peppers. These plants prefer consistent moisture, but they dislike soggy soil. A good rule of thumb is to water your chili plants deeply when the top inch of soil feels dry. This encourages deep root growth and resilience. If you notice yellowing leaves, you might be overwatering, while drooping leaves can indicate underwatering.
Consider using self-watering containers or adding a layer of mulch on top of the soil to help retain moisture. Just be sure to check the soil moisture level regularly, as conditions can change based on temperature and wind. With the right balance of sunlight and water, your chili peppers will thrive and reward you with a bountiful harvest.
Fertilizing Your Chili Plants for Maximum Flavor
Fertilizing your chili peppers is essential for maximizing yield and flavor. A balanced fertilizer, such as a 10-10-10 (N-P-K) or one specifically formulated for vegetables, can provide the necessary nutrients for robust plant growth. Start fertilizing when your plants are about 6 inches tall and continue every 4-6 weeks throughout the growing season. Just be sure to follow package instructions, as over-fertilizing can lead to lush foliage but fewer peppers.
Organic options, like fish emulsion or seaweed extract, are also excellent choices for feeding your plants. These natural fertilizers not only promote healthy growth but can also enhance the flavor of your peppers, making them even more delicious. Liquid fertilizers can be applied during regular watering for convenience, allowing for a slow, steady nutrient release to the roots.
As the peppers begin to set fruit, you might want to switch to a fertilizer higher in potassium, like a 5-10-10 mix. This change encourages the development of fruit over foliage, leading to a more flavorful and bountiful harvest. Remember, a little goes a long way when it comes to fertilizing, so keep an eye on your plants to gauge their needs.
Common Chili Pepper Pests and How to Handle Them
Despite your best efforts, pests can still make an appearance in your chili pepper garden. Common culprits include aphids, spider mites, and whiteflies. These tiny bugs can suck the sap from your plants and lead to stunted growth. The good news is that there are easy ways to manage them. Start by regularly inspecting your plants for signs of infestation. If you spot pests, a strong blast of water can dislodge them.
For more stubborn pests, consider using insecticidal soap or neem oil—a natural, plant-based pesticide that targets soft-bodied insects without harming beneficial ones. Just be sure to apply these treatments in the early morning or late afternoon to avoid leaf burn from the sun. Regularly cleaning your containers and pruning dead leaves will also help keep pests at bay.
Another great strategy is to attract beneficial insects, like ladybugs or lacewings, that prey on pests. You can do this by planting companion plants like marigolds or nasturtiums nearby. These plants not only add beauty to your garden, but they can also lure in the good bugs while helping to deter harmful ones. With a little vigilance and the right strategies, you can keep your chili pepper plants healthy and thriving!
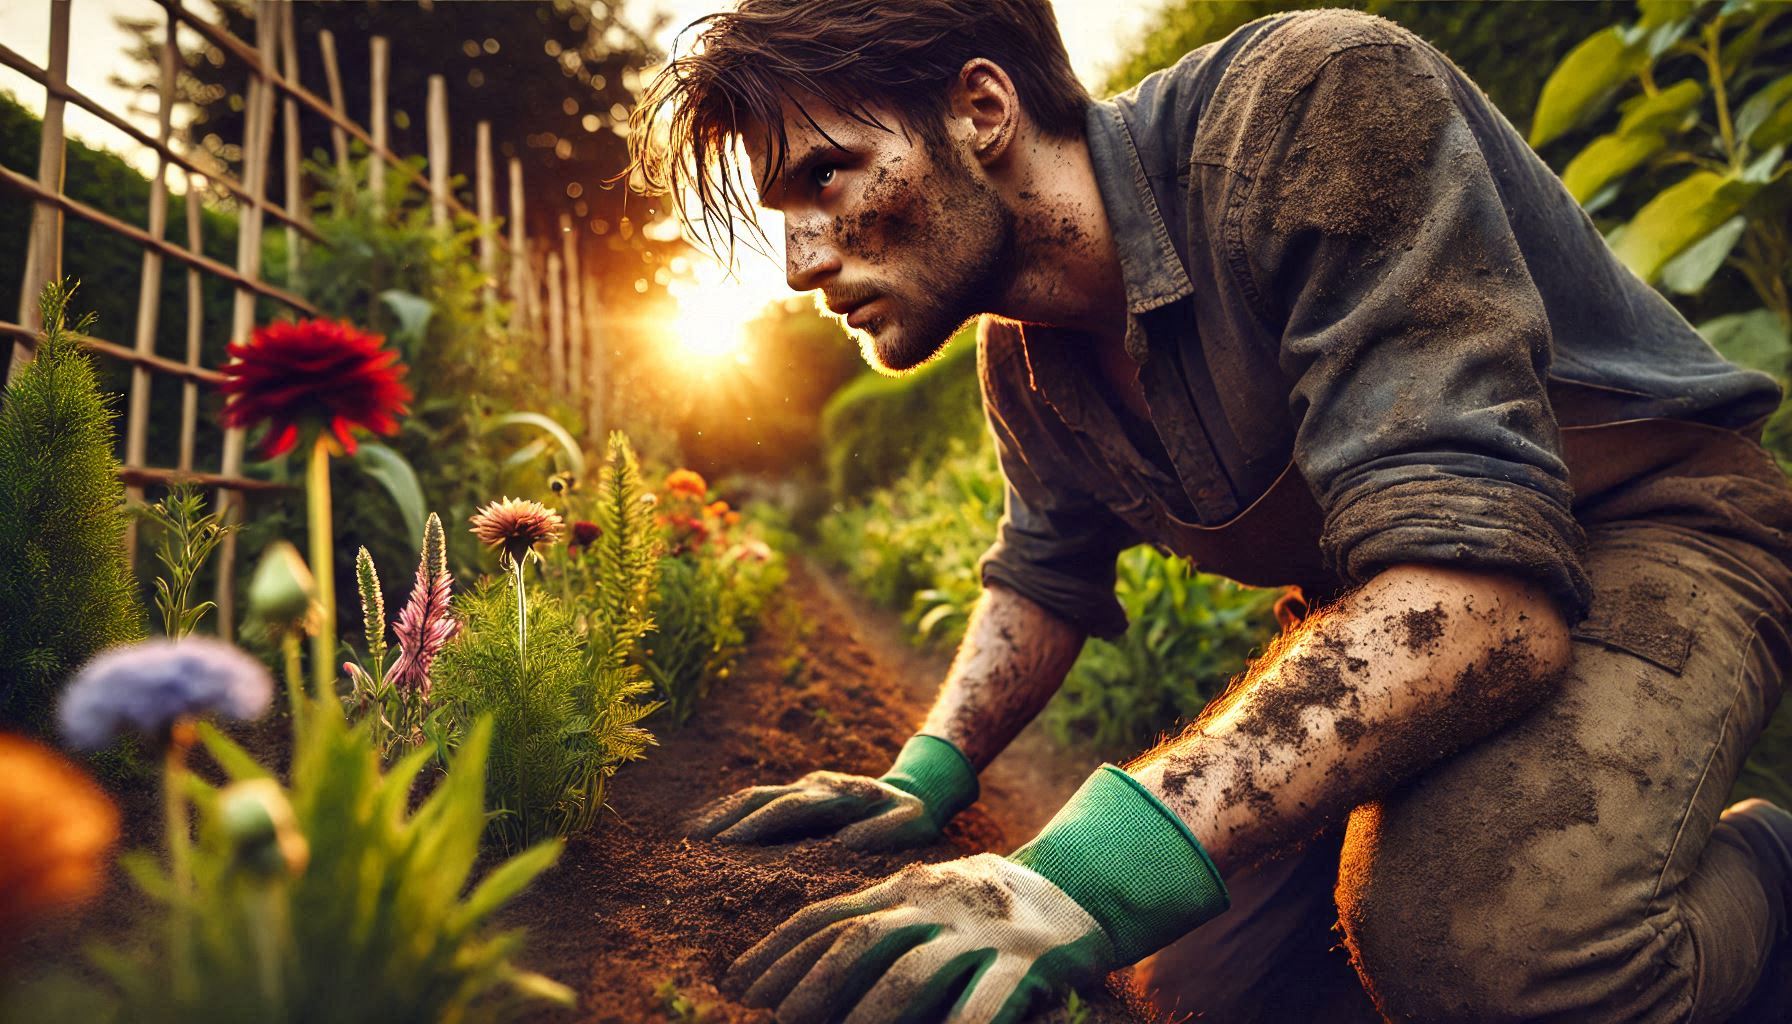
Growing chili peppers in containers can be a fun and fruitful experience, providing you with a flavorful ingredient right at your fingertips. By following this guide, from selecting the right containers and soil to managing sunlight, water, and pests, you’re well on your way to cultivating a productive pepper patch. So roll up your sleeves, get your hands dirty, and enjoy the rewards of your hard work. Before you know it, you’ll be savoring the delightful heat of your homegrown chili peppers in your favorite dishes. Happy gardening!